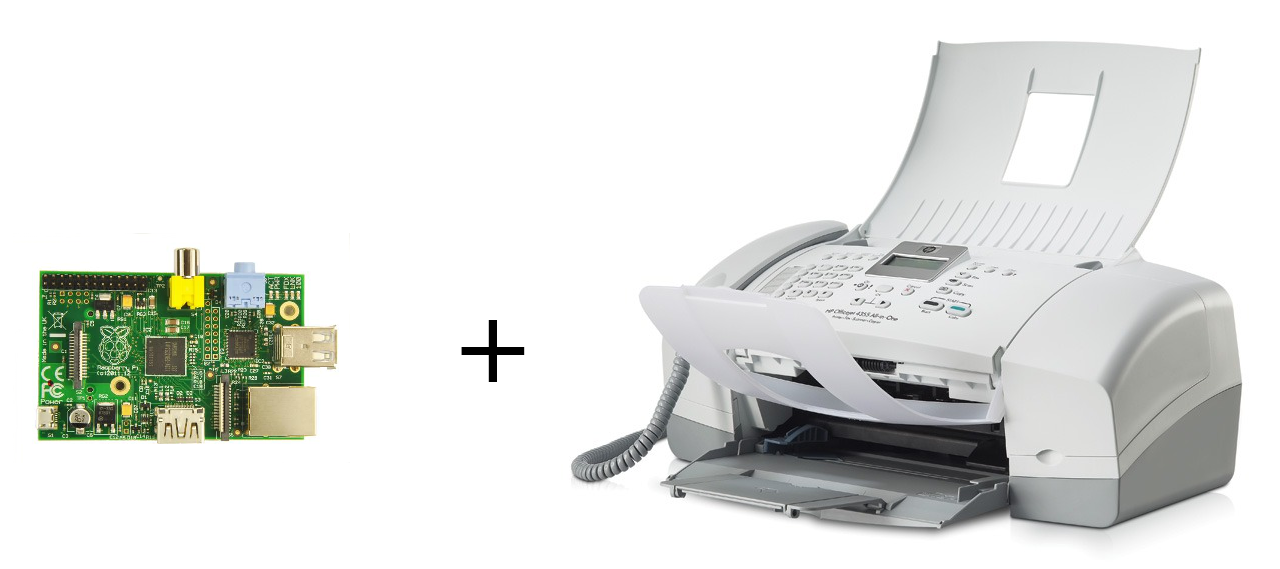
A few months ago, my wife needed to print a couple of documents. I had an old HP printer (Officejet 4355) sitting around, but I couldn’t use it in her laptop - it’s a Chromebook, which doesn’t support printer drivers. It can only print over the network, and my printer doesn’t have network connection, just USB. The only way I could make that work was installing the printer in another computer and making it share the printer over the network. But I’d have to keep the other computer on and connected to the printer every time she wanted to print something, which isn’t convenient.
So I decided to remove the dust from an old Raspberry Pi (the original model B) I hadn’t used for a while, and use it as a print server! Now I can print from any device, including her Chromebook and my Android phone.
Installation
First install Raspbian (without graphical interface, as you’ll use it only as a server), and set a static IP for it. Then connect the printer to one of its USB ports and install the driver - for my case, I found HP’s Linux Imaging and Printing software (HPLIP). It’s an official HP driver for Linux that supports many old printers, including mine. To install it:
sudo apt-get install hplip
The next step is installing CUPS and adding your user (default user is pi) to lpadmin group:
sudo apt-get install cups
sudo usermod -a -G lpadmin pi
To add a printer to CUPS, open its web interface in http://<pi IP address>:631/admin and click Add Printer. Your printer should be discovered automatically. After selecting it, you can add a meaningful name to it. Also, don’t forget to check Share This Printer before continuing.
With the print server fully configured, you need to setup the printer in each device. In a laptop running Ubuntu, my “new” printer could be automatically discovered. If you have any problem with it, check Debugging Printing Problems. In Chromebook, I installed IPP/CUPS printing extension. And in Android, I’m using CUPS printing app. They all work great!